Creating Minecraft Servers
NexCraft replaces the generic app marketplace with a Prism-Launcher-style Minecraft builder. Open the Minecraft menu (URL /#/minecraft) to get started. There are five sources to choose from:
- Vanilla — build a fresh server for any Minecraft version, with or without a mod loader.
- CurseForge — search and install CurseForge modpacks.
- Modrinth — search and install Modrinth modpacks.
- FTB — search and install Feed The Beast modpacks.
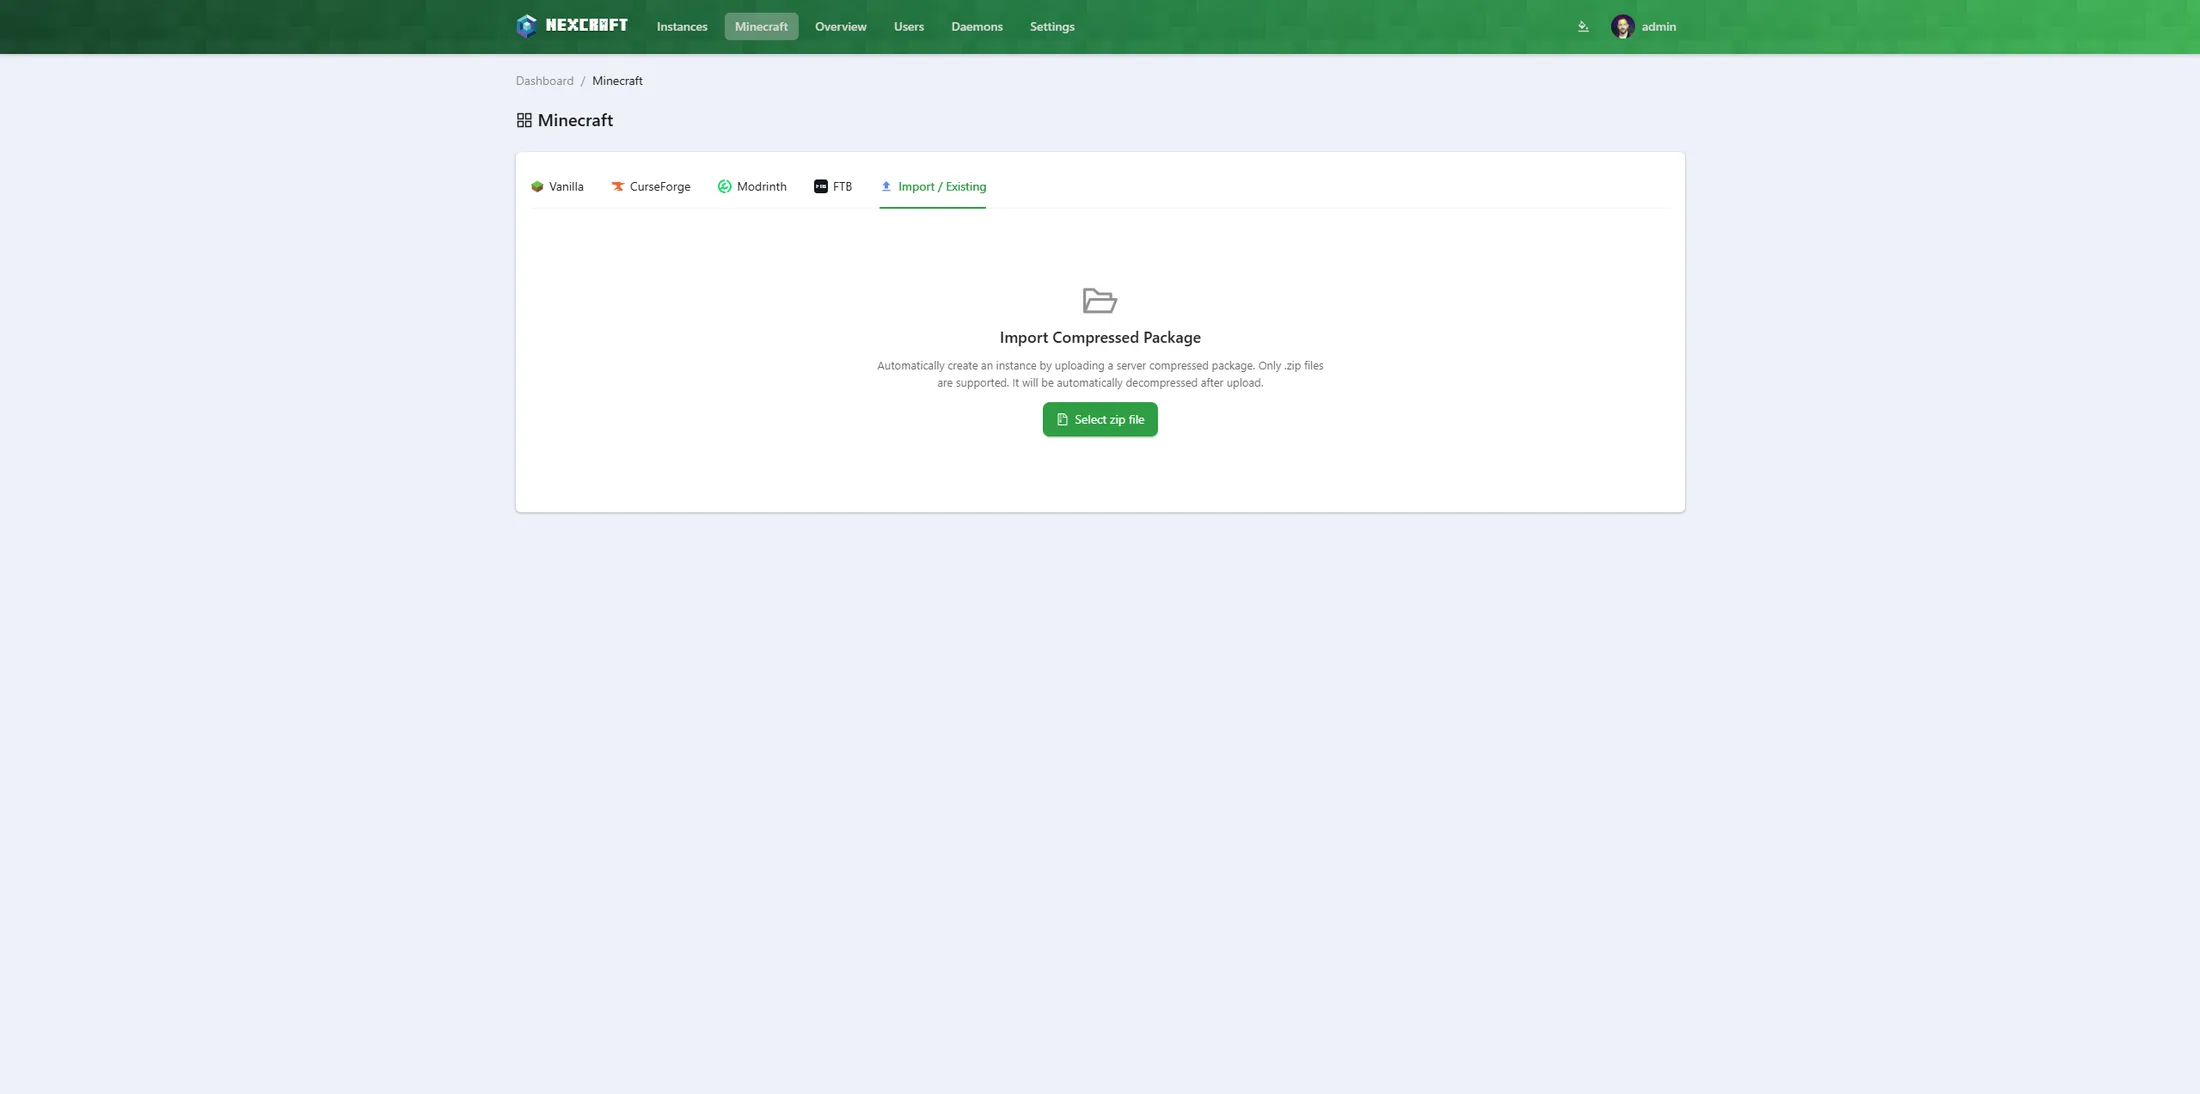
- Import / Existing — upload a server you already have and run it as-is (see Importing an existing server).
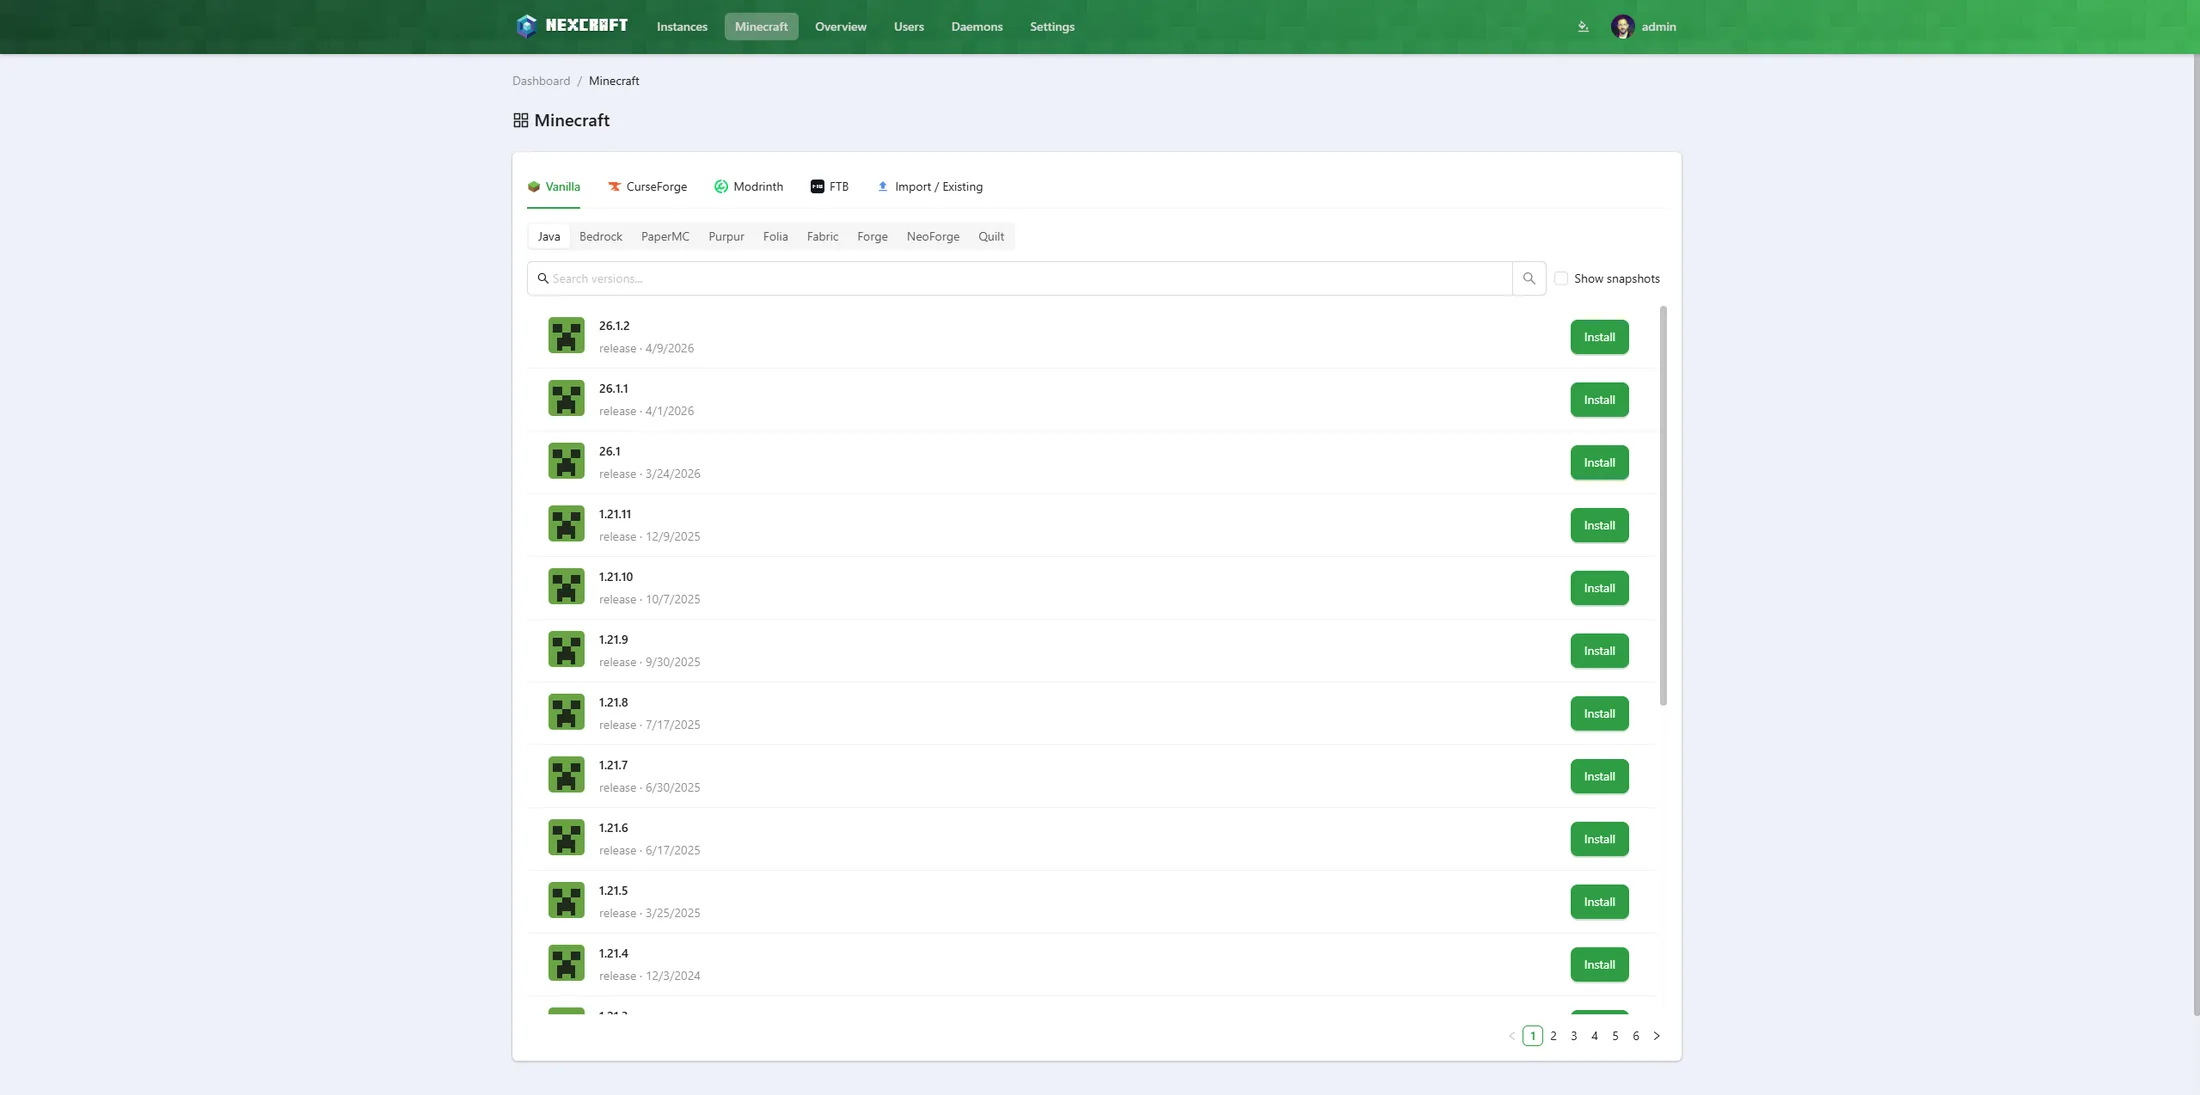
Vanilla (loaders / server software)
- Select Vanilla.
- Pick a mod loader from the row of icons:
- Vanilla — the official Mojang server.
- Paper, Purpur, Folia — high-performance server software (downloaded as a ready-to-run jar from their official APIs).
- Fabric, Forge, NeoForge, Quilt — modloaders (the daemon runs the official installer/bootstrap).
- Choose a Minecraft version from the list. Versions are pulled live — Mojang's manifest for Vanilla/loaders, and each project's API for Paper/Purpur/Folia. Tick Show snapshots to include non-release versions.
- Click Install, set an instance name and max memory, and confirm.
The Details tab for each software shows its tags (version, release type, category), a curated Key Features list, and a note about the Java version auto-provisioned for it.
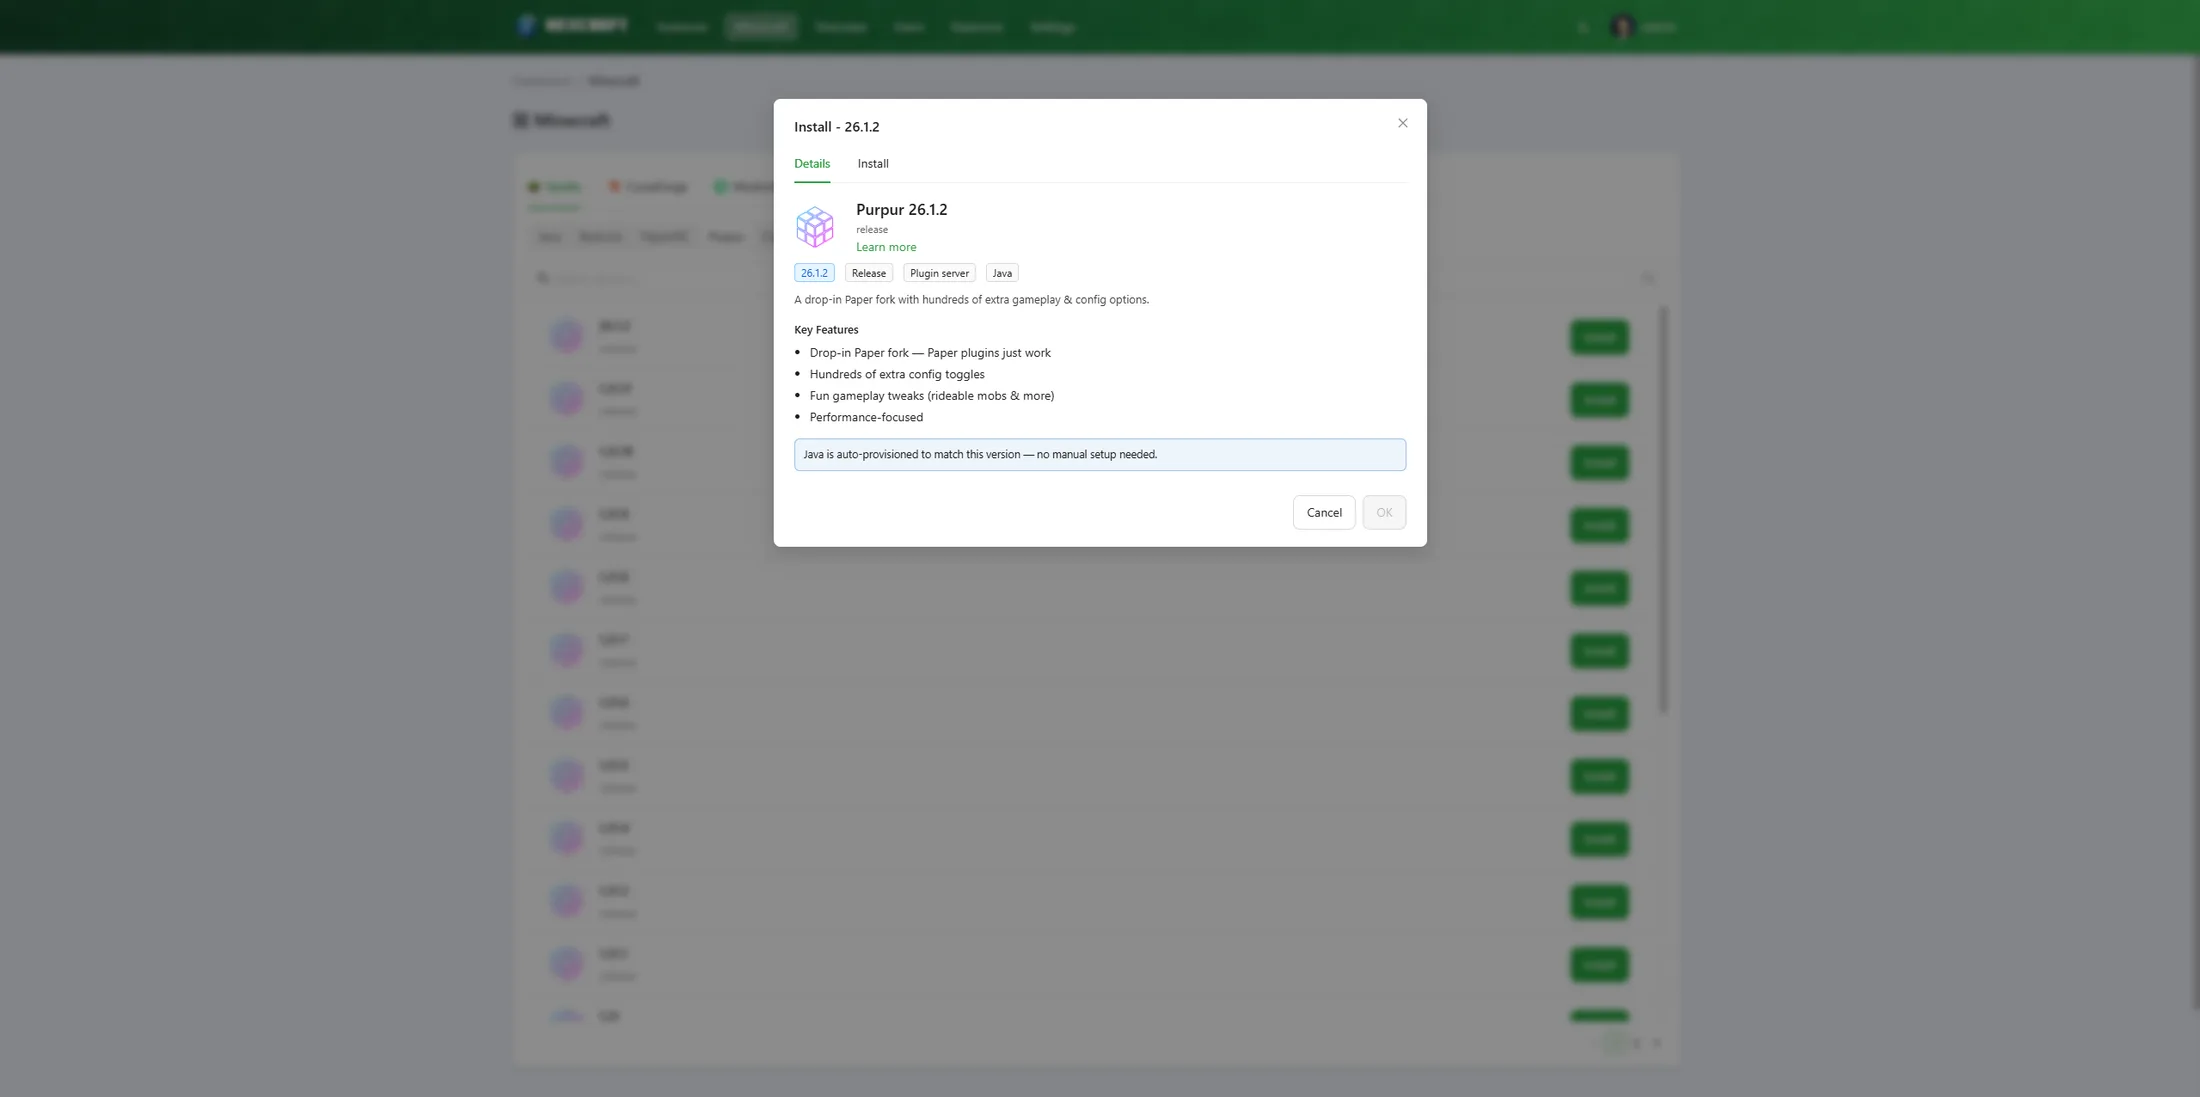
The daemon downloads the server, runs any loader bootstrap, assigns a free port, and writes the start command for you.
CurseForge / Modrinth / FTB modpacks
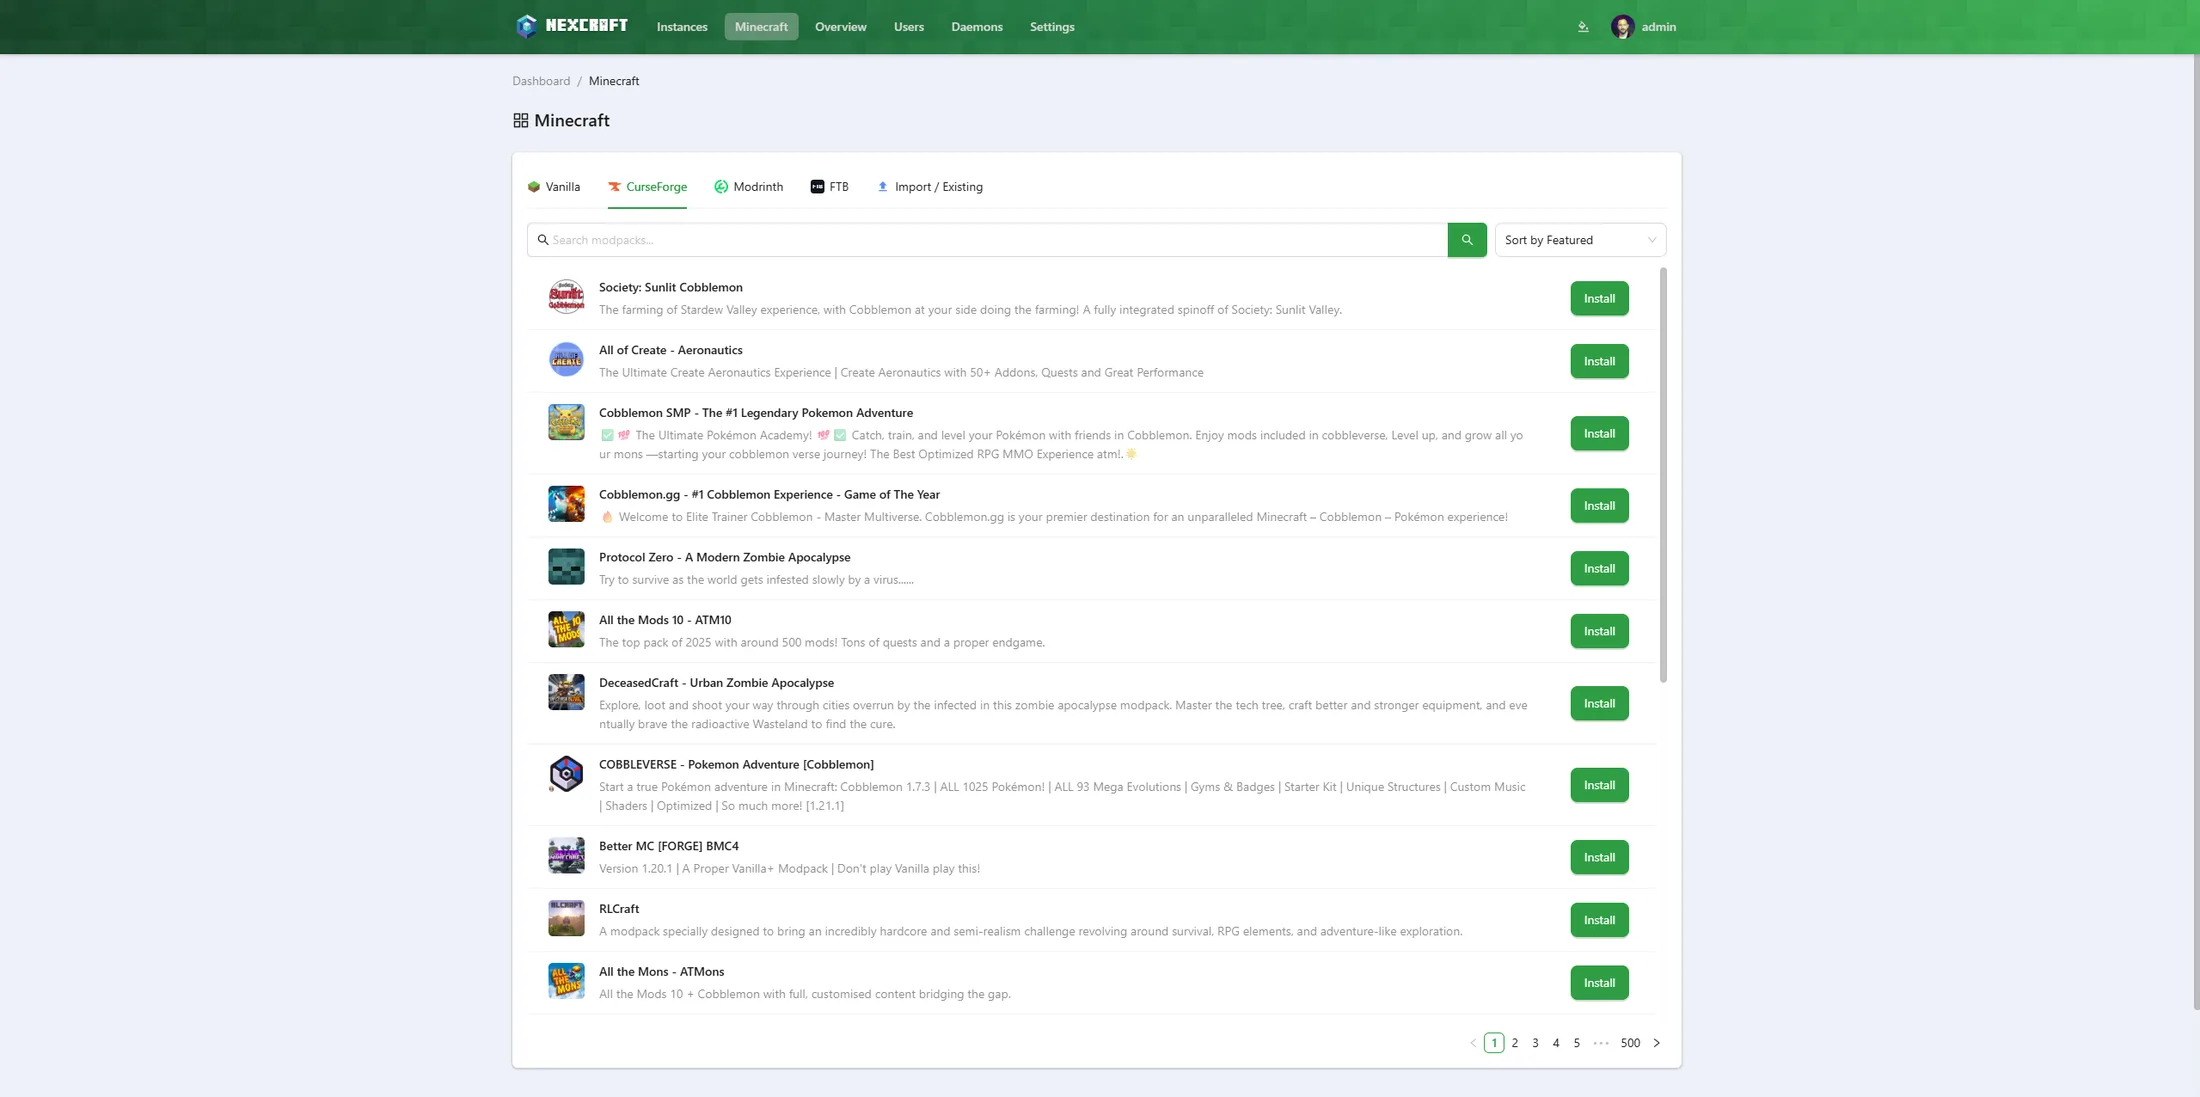
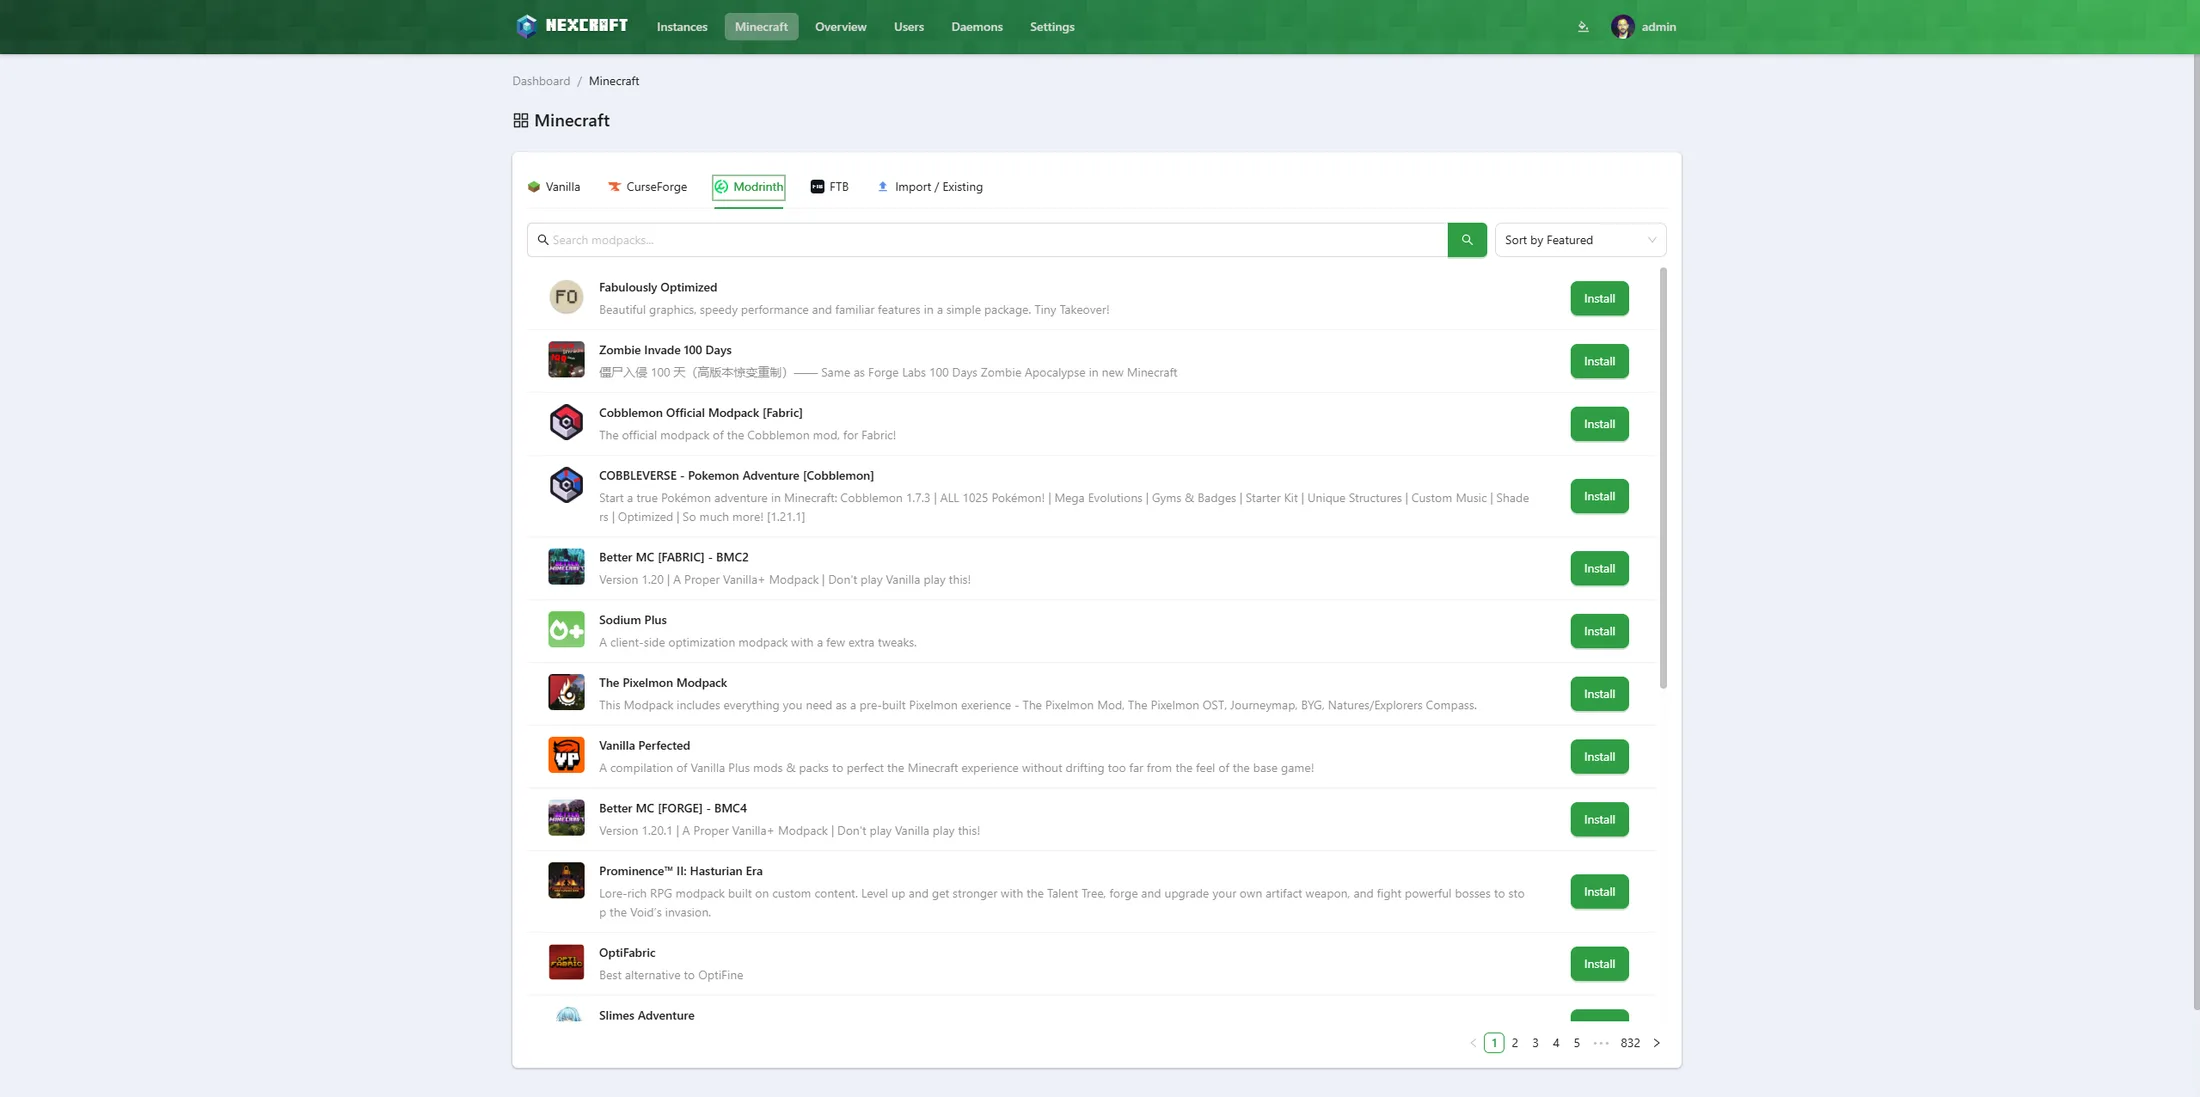
Select CurseForge, Modrinth, or FTB and search (or browse the popular list).
Click a pack to open its detail dialog — description, tags, supported versions, and a Version picker.

Choose a version, accept the Minecraft EULA, set memory, and Install.
What happens under the hood:
- CurseForge: NexCraft installs the pack's server pack file. Packs without a server pack are shown disabled ("no server pack").
- Modrinth: NexCraft installs the full
.mrpackserver files (mods + overrides). - FTB: NexCraft installs the server files listed in the pack's FTB manifest (server-side mods and configs, downloaded from the FTB CDN).
- The correct mod loader and version are resolved automatically from the pack metadata, and a matching Java version is provisioned if needed.
- Known client-only mods that crash dedicated servers (e.g.
e4mcshipped in client optimization packs) are stripped automatically. - A server icon is generated from the pack's logo, and the EULA is accepted on your behalf.
After install, NexCraft routes you to the instance's console to watch the bootstrap and start the server.
Importing an existing server
Already have a server folder? Pick the Import / Existing source tab, upload it as a .zip, and NexCraft auto-detects what it is (Java vs Bedrock, loader, version) and walks you through a review screen before creating the instance. (Admin only.)
- Java — imported as-is: NexCraft runs the uploaded server with its existing world, mods, and configs.
- Bedrock — installs the latest Bedrock Dedicated Server and keeps your world (version-locked), with an import-as-is opt-out. The start command and file permissions are set for you.
Starting the server
On the instance terminal, click Start. NexCraft shows "Instance is starting…" while the server boots and only flips to Running once the server actually reports it's ready — so the status reflects reality, not just that the process launched.
Notes
- All servers run in host / general process mode. Running servers inside Docker containers is not supported in NexCraft.
- Ports are auto-assigned from 25565 upward so multiple servers don't collide. You can change them later in the server's
server.properties(Config Files) or instance settings. - The start command is generated for you but is editable under Instance Settings → Startup Command if you need to tweak it.